Perception module series: HLK-LD012-5G
5.8G radar induction sensor module
8-10 meters range|distance & delay time adjustable|ultra low power consumption
product manual
PRODUCT DESCRIPTION
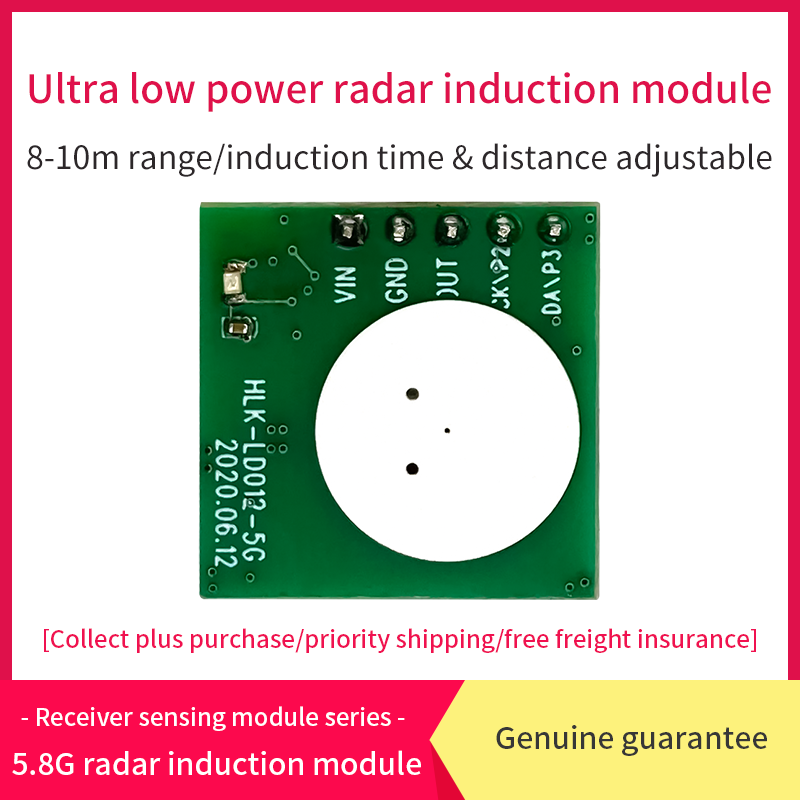
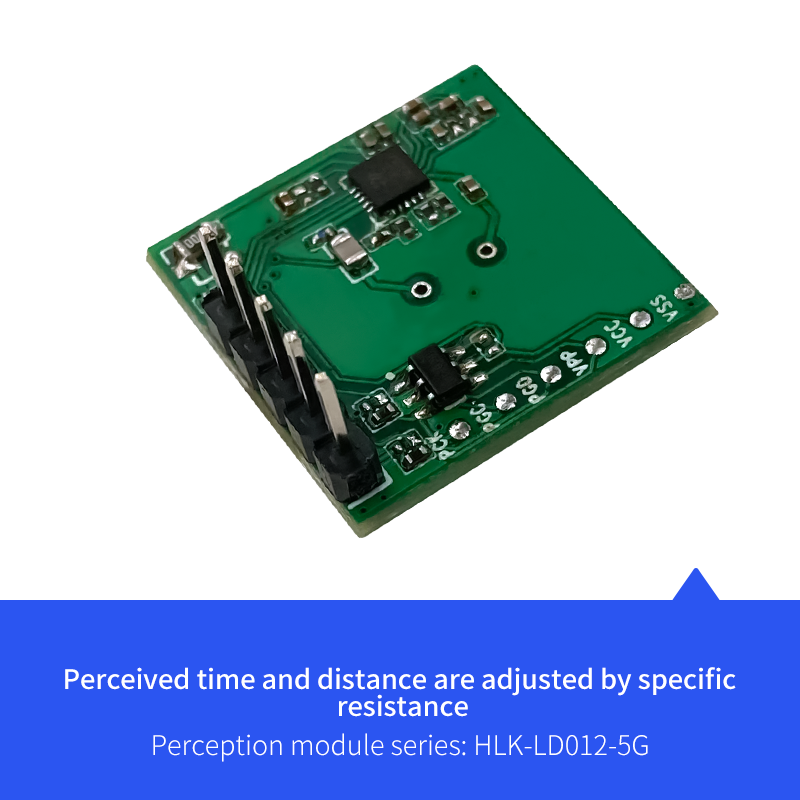
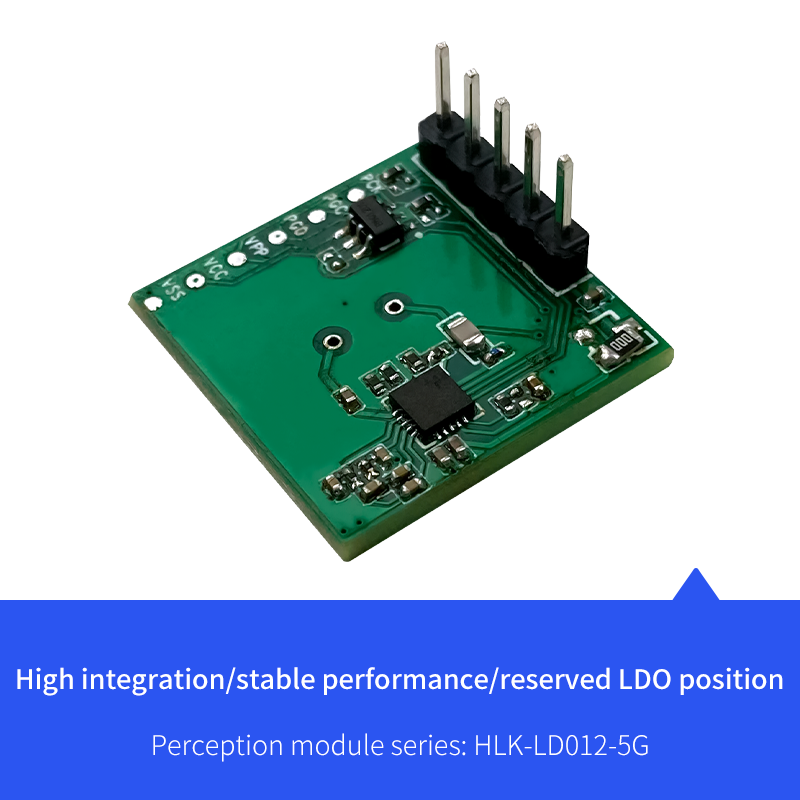
HLK-LD012-5G is an ultra-low power 5.8G radar sensor launched by Hilink. The overall power consumption is about 68uA, and the size is small 20mm*20mm. The module fully integrates 5.8GHz microwave circuit, intermediate frequency amplifier circuit and signal processor. High degree of accuracy and good production consistency. The peripheral is equipped with a miniaturized planar antenna to ensure the performance of the sensor and greatly reduce the overall size. The module can be used to detect the presence of human body or various scenes induced by moving targets.
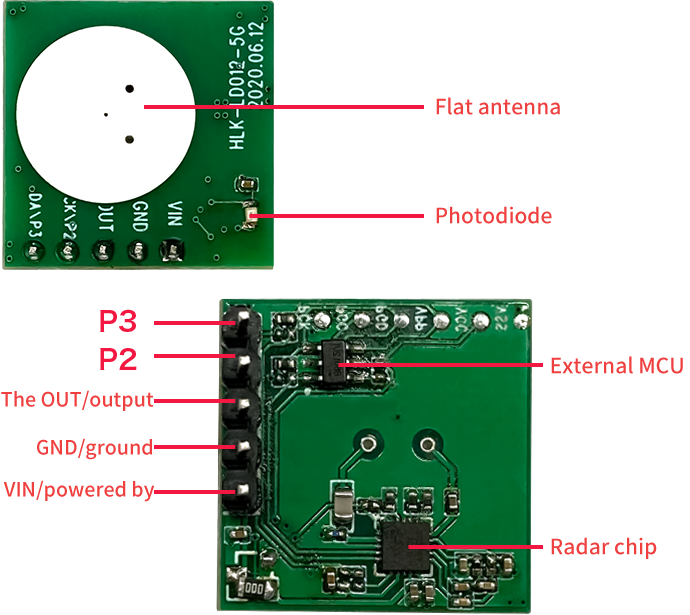
The 5 PINs are 2.54mm apart, and three PINs of VCC, GND and OUT are used by default. If you need to tune the distance and delay time and other parameters, you can select the corresponding gear through P2, P3 floating or pulling down with the specific resistance on the module or Use the external MCU reserved on the module to rewrite the internal parameters. The following table shows the definition of the PIN pin:
| PIN name | Function description | Remarks |
| VCC | powered by | Default unattached LDO: 2.7-4.8V (attached LDO: 5-12V) |
| GND | Electrical connection | - |
| OUT | Signal output | Output high and low level (0/2.2V) |
| P2 | GPIO2 | Receiving gain gear selection |
| P3 | GPIO3 | Delay time gear selection |
Technical specifications
TECHNICAL SPECIFICATIONS
Module dimensions
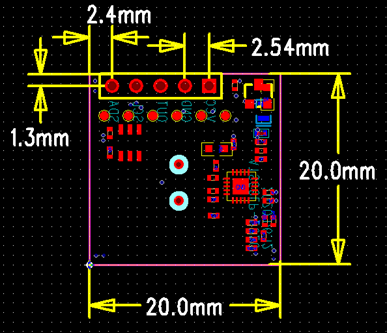
Schematic diagram of the size of the module and the position of the pins. The length and width of the module is 20mm*20mm, and the overall thickness is 2.5mm. If there are pins, the default pin height is 12mm.
Sensing time and sensing distance adjustment
The P2 and P3 pins of the module are used to select different sensing distances and delay gears: P2 is used to adjust the sensing distance, and the 3 resistors (th0, th1, th2) reserved by the module can provide 16 different sensing distance options.
When P2 is in the suspended or pulled high state, the sensing distance of the module is far; when P2 is pulled down, the receiving gain is reduced by 18dB, and the sensing distance is short. The three distance adjustment resistors on the module are used to adjust the threshold of the inductive judgment. The resistance bit NC represents 1, and the 0 ohm resistor represents 0. Refer to Figure 4 for the status of the 3 resistance bits and the corresponding threshold. The smaller the threshold, the farther the sensing distance.
P3 is used to select the pull-up time of the OUT signal after sensing. When P3 is floating or pulled high, the sensing pull-up time is 2 seconds; when P3 is pulled low, the sensing pull-up time is 15 seconds. If there is a new trigger during the inductive output pull-up period, the inductive time will be extended.

| th0 | th1 | th2 | Threshold |
| 0 | 0 | 0 | 64 |
| 1 | 0 | 0 | 49 |
| 0 | 1 | 0 | 38 |
| 1 | 1 | 0 | 29 |
| 0 | 0 | 1 | twenty two |
| 1 | 0 | 1 | 17 |
| 0 | 1 | 1 | 13 |
| 1 | 1 | 1 | 10 |
Circuit reference
CIRCUIT REFERENCE
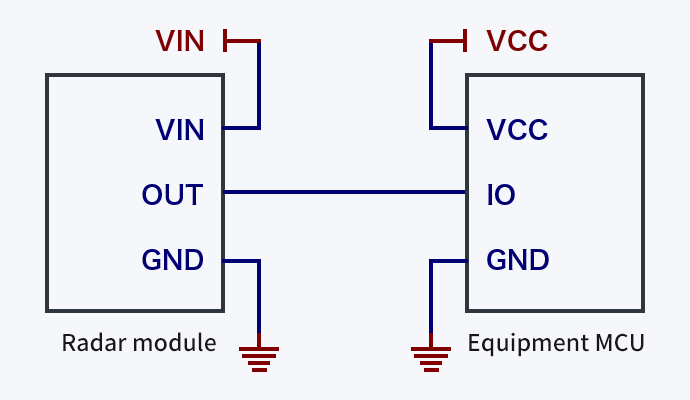
★The signal output by the module can be directly connected to the IO port of the MCU. The MCU program can read the status of the OUT pin of the module to determine whether there is a moving object in the sensing area, so as to achieve intelligent control.
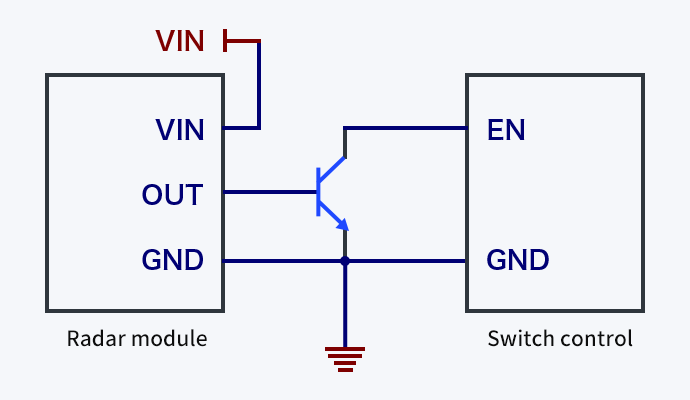
★The high and low levels of the module output drive some switching devices to turn on, such as driving transistors, MOS tubes, relays and other switches to pull in state. As shown in the figure below, when the module detects a moving object, the pin OUT outputs a high level to drive the transistor/MOS tube to conduct, so that the back-end loads (such as lights, motors, etc.) work.
Module sensing range diagram

The sensing sensitivity of the module can be configured through the MCU, and its positive limit sensing distance is 10 meters, and the actual sensing distance can be adjusted as required. The above figure is a schematic diagram of the detection range of a lateral radar. If the sensitivity is set higher, the detection range will increase accordingly. The dark area in the figure is the high sensitivity area, which can be fully detected in this area, and the light color area is the low sensitivity detection area , Objects can be basically detected in this area.
Precautions
★When installing the antenna, avoid metal shells or components on the front of the antenna to avoid shielding the signal. Plastic or glass is allowed, but the obstruction should not be close to the front of the antenna;
★Try to avoid directing the radar antenna to large metal equipment or pipes;
★When installing multiple radar modules, try to ensure that the antennas of each radar module are parallel to each other, avoid direct illumination between the antennas, and keep a distance of more than 1m between the modules;
★The radar sensor should avoid facing the AC drive power supply, and try to stay away from the rectifier bridge of the drive power supply to avoid power frequency interference with the radar signal;





 Official mall
 Taobao shop


